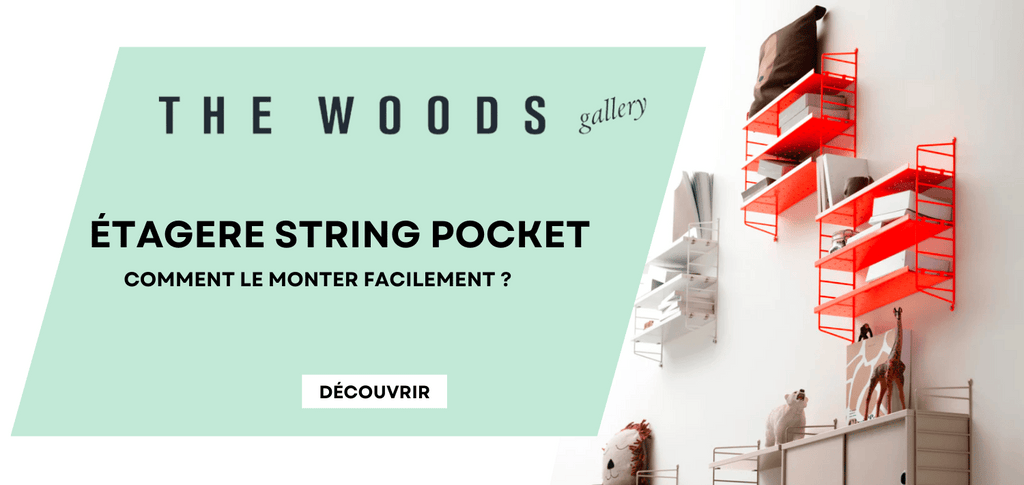
How to easily assemble your String Pocket shelf?
The String Pocket shelf is a practical and aesthetic storage solution for all types of rooms.
This compact shelf is easy to install and provides ideal storage space for books, knick-knacks and plants.
However, assembly can seem intimidating to those who are not accustomed to furniture assembly.
In this article, we will walk you through the steps needed to easily assemble your String shelf by simply following these easy assembly steps.
Tools needed for assembly
Before you start assembling your String Pocket shelf, it is important to check that you have all the necessary tools.
Here is a list of tools you will need:
- A flat screwdriver
- A hammer
- A spirit level
- A pencil
- A drill (optional, but useful if you want to attach the shelf to the wall)
Practical tips to facilitate the assembly of the String Pocket shelf
-
Preparation of tools and parts
Before starting to assemble the String Pocket shelf, it is essential to prepare all the tools and parts necessary for assembly.
Make sure you have all the screws, wall fixings, shelves and shelf posts, as well as tools such as the level, screwdriver and hammer. Having all of these parts and tools prepared in advance will make the assembly process much easier. -
Assemble the shelf uprights
The next step is to assemble the shelf uprights. It is important to ensure that the studs are aligned and that the screw holes are positioned correctly. Once the uprights are assembled, use the level to check that the shelf is straight. -
Attach the wall brackets
Before attaching the wall fixings, it is important to ensure that the walls are solid and that the wall fixings are placed at the correct height. Use the level to make sure the wall fixings are perfectly straight and at the same height. Then attach the wall brackets using the screws provided. -
Fix the shelves
Once the wall brackets are attached, it's time to attach the shelves to the shelf posts. Be sure to align the shelves correctly and use the screws provided to secure them to the posts. -
Check the stability of the shelf
After attaching the shelves, it is important to check that the shelf is stable and does not move. Use the level to check that the shelf is perfectly straight and adjust it if necessary.

Tutorial assembling your String Pocket shelf
Step 1: Preparation
Make sure you have all the necessary materials and prepare a clear work space. Also check that all parts of the shelf are present and in good condition.
Step 2: Measuring and Marking
Using the tape measure and spirit level, measure and mark the location of the studs on the wall where you want to install the shelf. The uprights must be at the same height and perfectly aligned for the shelf to be stable.
Step 3: Fixing the amounts
Using the electric screwdriver, attach the uprights to the wall by screwing them into the marks you previously made. Make sure the studs are securely anchored to the wall.
Step 4: Assemble the shelf Using the electric screwdriver, attach the mounting brackets to the uprights. Next, assemble the side panels and shelves by inserting the mounting brackets into the holes provided.
Step 5: Attaching the Shelf
Place the assembled shelf on the uprights and secure it by screwing it to the mounting brackets.
Step 6: Verification
Use the spirit level to make sure the shelf is perfectly horizontal and adjust it if necessary.
Congratulations ! You have now successfully assembled your String Pocket shelf. All you have to do is use it to store your books, your decorative objects or any other object that you want to highlight.
How to maintain your string pocket shelf?
To properly maintain your String Pocket shelf, here are some practical tips:
- Clean the shelves and supports regularly using a soft, dry cloth to remove dust and dirt.
- Avoid using harsh cleaning products that could damage the shelf surface. Instead, choose gentle products, such as mild soap or lukewarm water.
- If you have stubborn stains, you can use a solution of equal parts water and white vinegar to remove them. Apply this solution with a soft cloth and rinse well with clean water.
- Avoid placing hot or humid objects directly on the shelves to avoid the risk of warping or mold.
- If you have wooden shelves, you can treat them with linseed oil or preservative oil to maintain their natural appearance and extend their life.
By following these few simple tips, you will be able to keep your String Pocket shelf in perfect condition for many years.
String Pocket: Endless customization
A. The different colors and materials available
The String Pocket shelf is available in a wide range of colors and materials to suit any interior design style. Colors range from classic black to elegant white to brighter tones like yellow, red and green. Materials offered include natural wood, lacquered plywood, lacquered metal and stainless steel.
B. How to personalize your shelf
Personalizing your String Pocket shelf is easy and fun. Here are some ideas to inspire you:
-
Play with colors: You can use multiple colors to create a unique and bold look. Try combining complementary colors for a striking visual effect.
-
Add Accessories: Accessories can add a touch of personality to your shelf. You can use potted plants, books, photo frames or trinkets to decorate your shelf.
-
Use boxes and baskets: If you need to store smaller items, you can use boxes or baskets to add a touch of texture and color to your shelf.
-
Create a composition: Try creating a composition by playing with the heights, colors and shapes of the objects on your shelf. This can give a harmonious and balanced look to your space.
Using these tips, you can personalize your String Pocket shelf to reflect your personal style and fit seamlessly into your interior decor.